This is the second part of the two-part series on Cappiello’s Green Devil. Read the first part here.
After having mounted the poster and let it dry, the poster’s larger holes were all patched using archival acid-free paper. The smaller cracks and ridges were smoothed with a filling compound. Once the poster’s surface is completely flat and uniform, restoration to all the visual cosmetic issues can begin.

Melissa begins by airbrushing the beige margins of the poster. To do this she must protect (“mask”) all the areas of the poster that are not getting airbrushed. Here she is using low-tack tape and kraft paper to temporarily cover the non-beige areas.

She must begin with a lighter shade of paint before evening-out the color.

She spends the day airbrushing the margins, alternately standing on a ladder and crouching on the floor.

Once the margins have dried, Melissa removes the large pieces of kraft paper and then the smaller masking used on the printing information.

She then starts work on the black area. Here she is masking the large yellow.

With regularly-proportioned posters, the restorer can maneuver the poster to suit her position on the floor. Since this poster is gigantic, Melissa must instead maneuver herself.

The beginning stages. Black can be one of the most difficult colors to restore since fingerprints, tears, ridges, and other surface anomalies show up so easily.

While the paint we use is completely safe and non-toxic, a lot of it goes flying into the air when airbrushing such a large area, so Melissa uses a respirator to keep from inhaling too much mist.

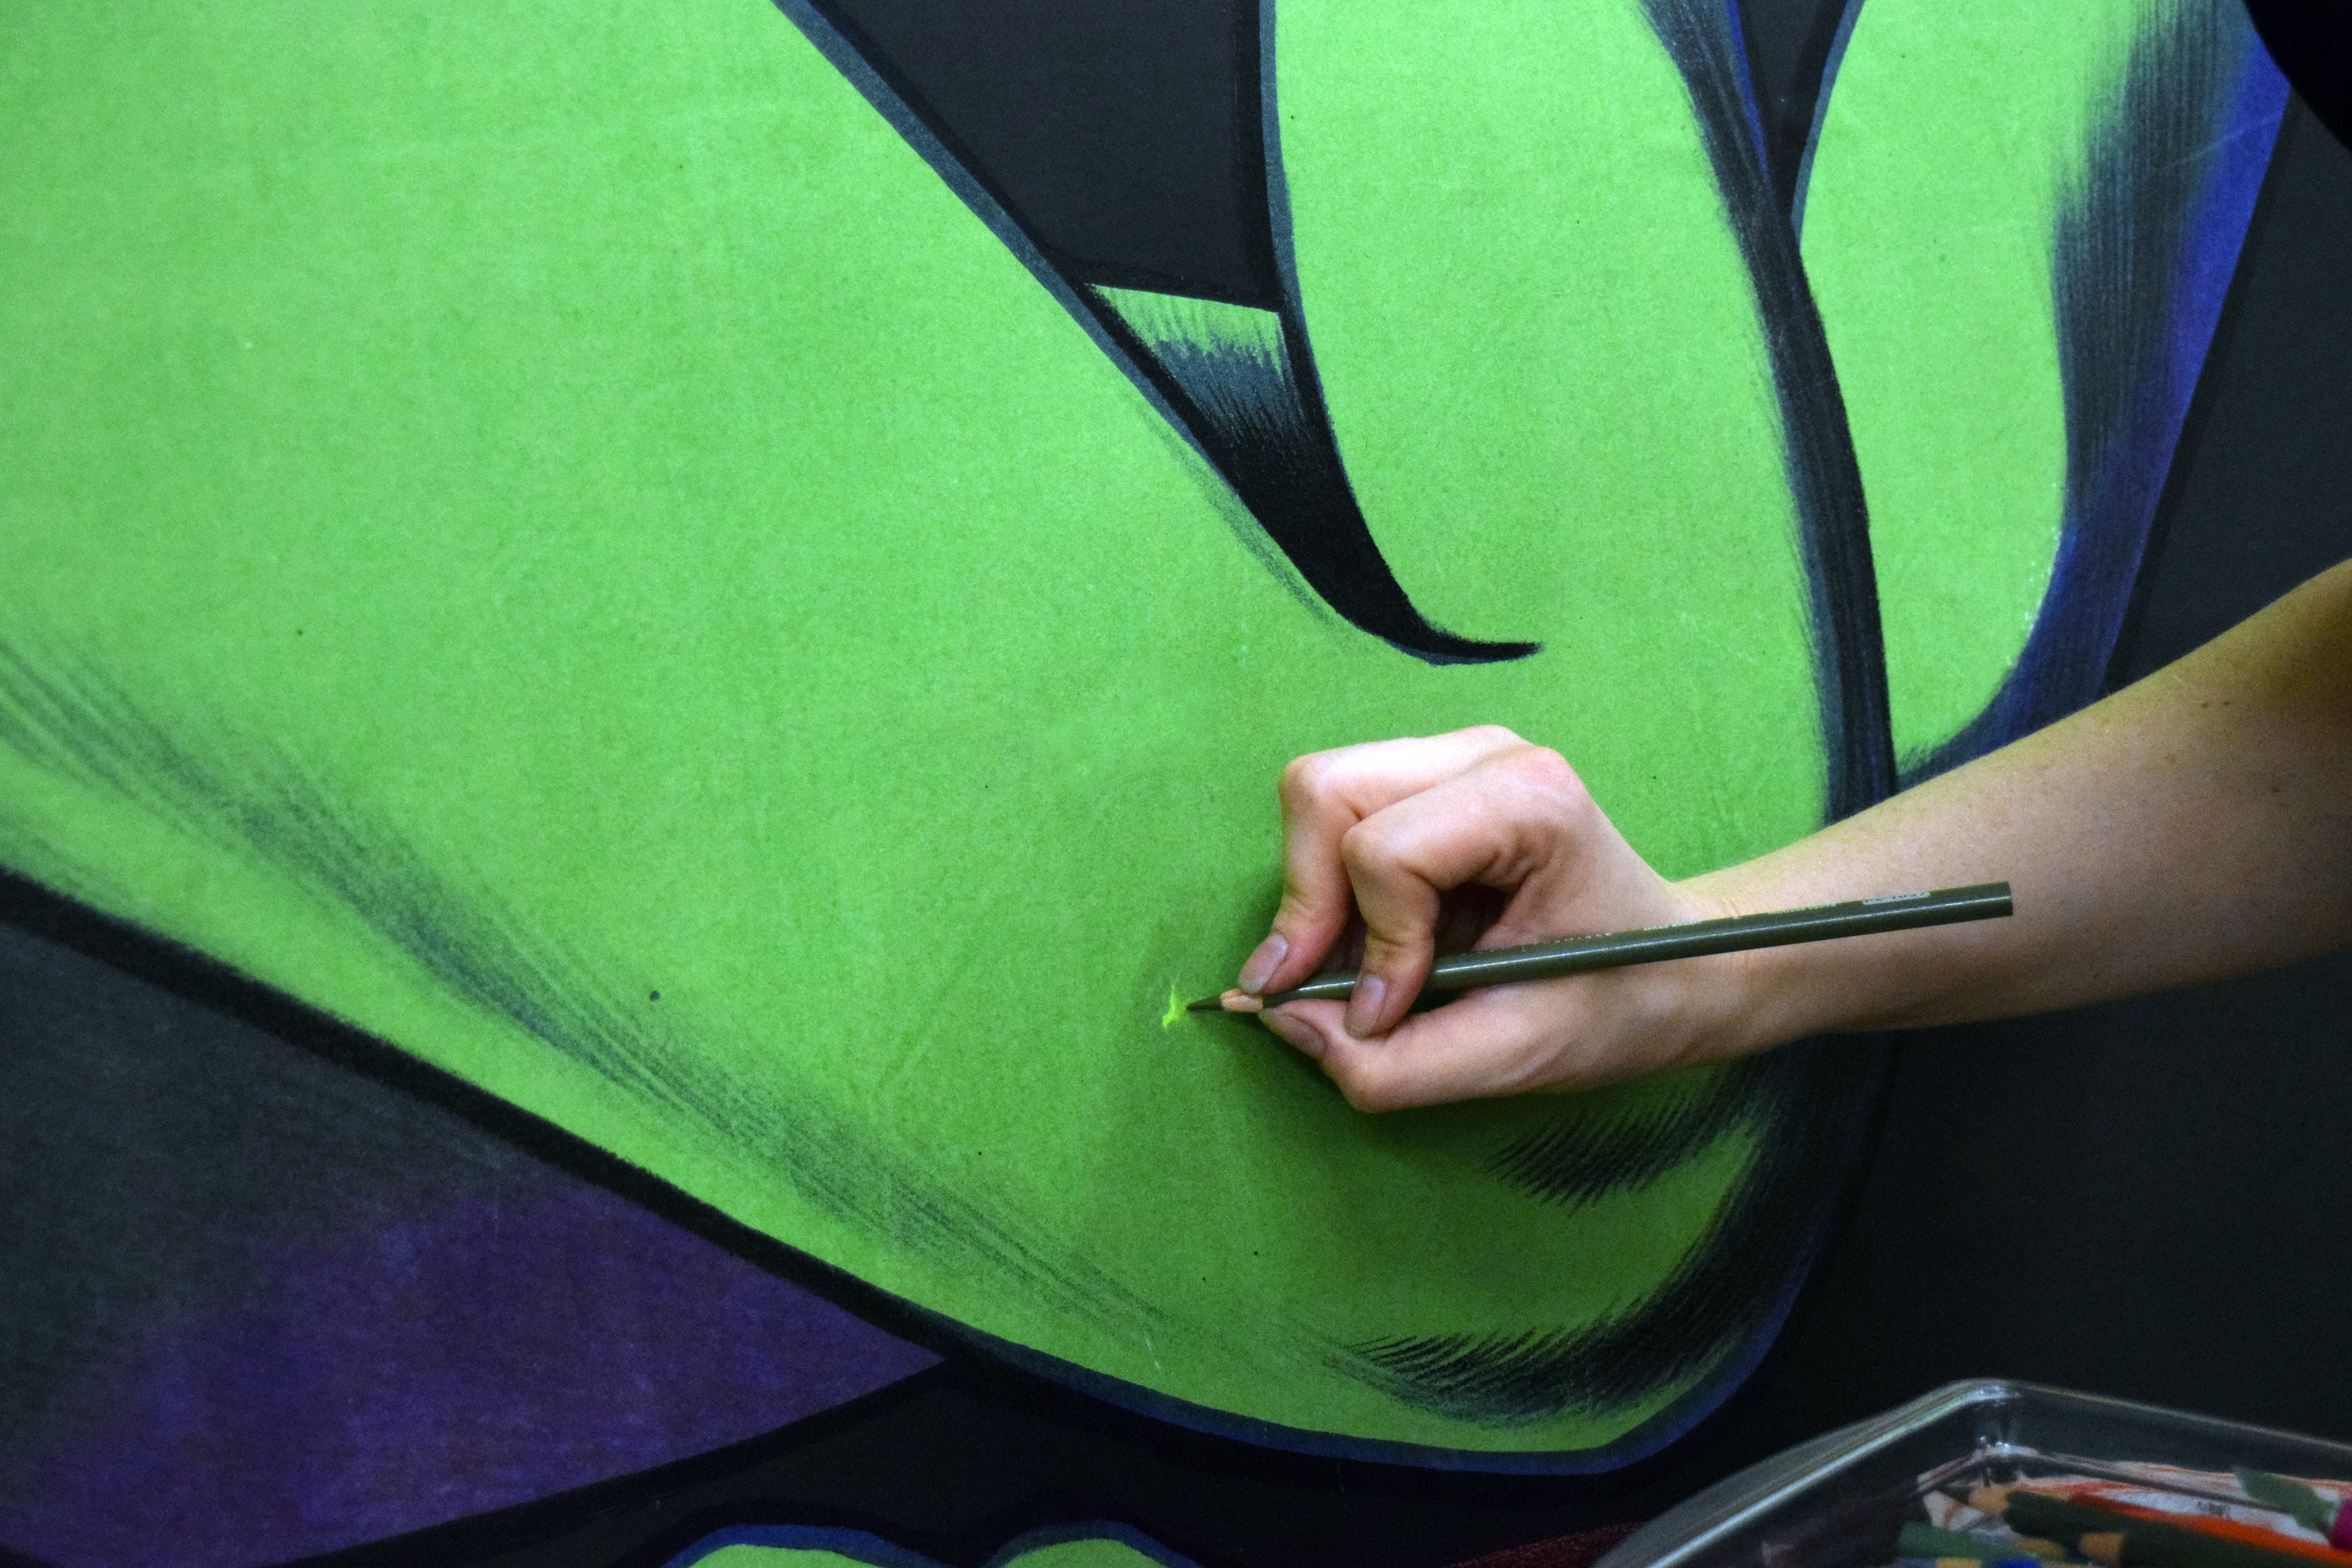
After the black paint has dried, the masking is removed and she begins detailing the poster’s smaller blemishes.


Finished!

Incredible work!