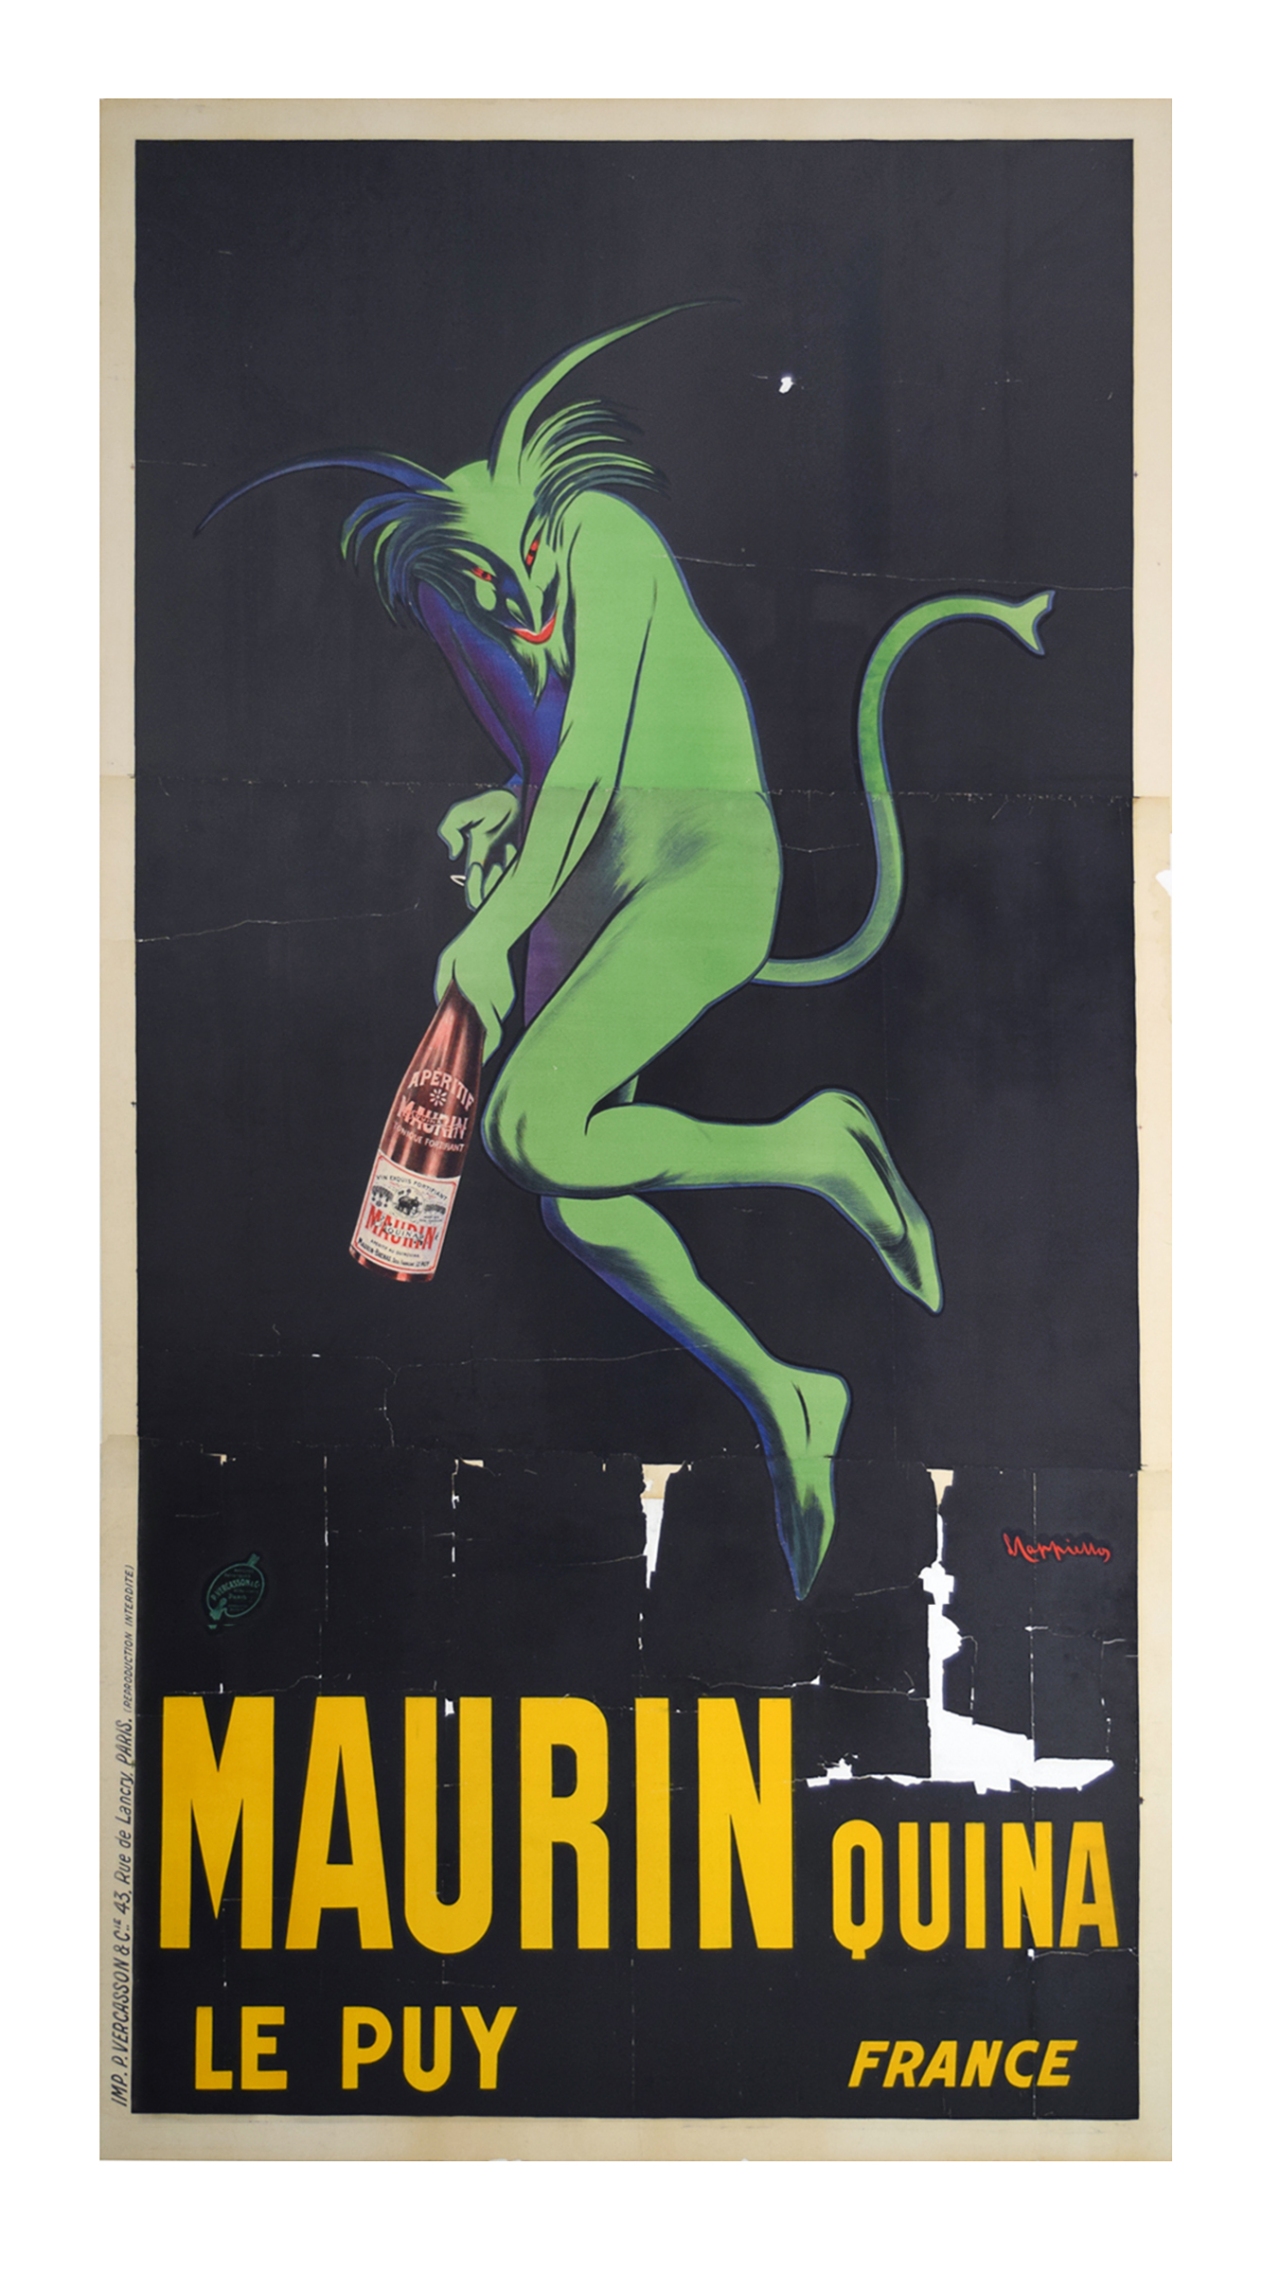
Leonetto Cappiello was an Italian-French poster artist who gained popularity during the early part of the twentieth century, and the Maurin Quina absinthe ad is one of his best-known images. It depicts a cartoonish green devil, floating against a black field and uncorking a bottle of liqueur emblazoned with the company’s label. This style of advertising was revolutionary for its time, which was 1906. Cappiello had been a caricaturist before he made posters, and his style basically took a caricature, added one or two vibrant colors, and put it alone in a stark blank backdrop. The product itself was almost an afterthought. It was the pairing of the product’s label with a fanciful, often incongruous character that made the message stick in people’s heads. Cappiello’s formula made him extremely successful, and it changed the look of posters as a whole.
If you happen to see an original Green Devil, chances are it will be the smaller 47×63-inch size. Last month we received an unusual large-format devil, measuring about 6.5×12 FEET, by far the largest poster our young company had yet worked on. We’d have to begin by building a screen large enough to fit it. We’d have to order the canvas to fit the screen. We’d have to schedule a weekend day for the job, since we couldn’t be interrupted by phone calls or visits.
Then Katie broke her leg in a car accident. This took her out of the game, and Melissa and Chelsea would have to bring in extra sets of hands, which in turn made scheduling even more difficult. Finally, after the screen had been built, the canvas ordered, careful measurements taken, “before” photos snapped, and a small team of helpers assembled, the time had come to tame the devil.
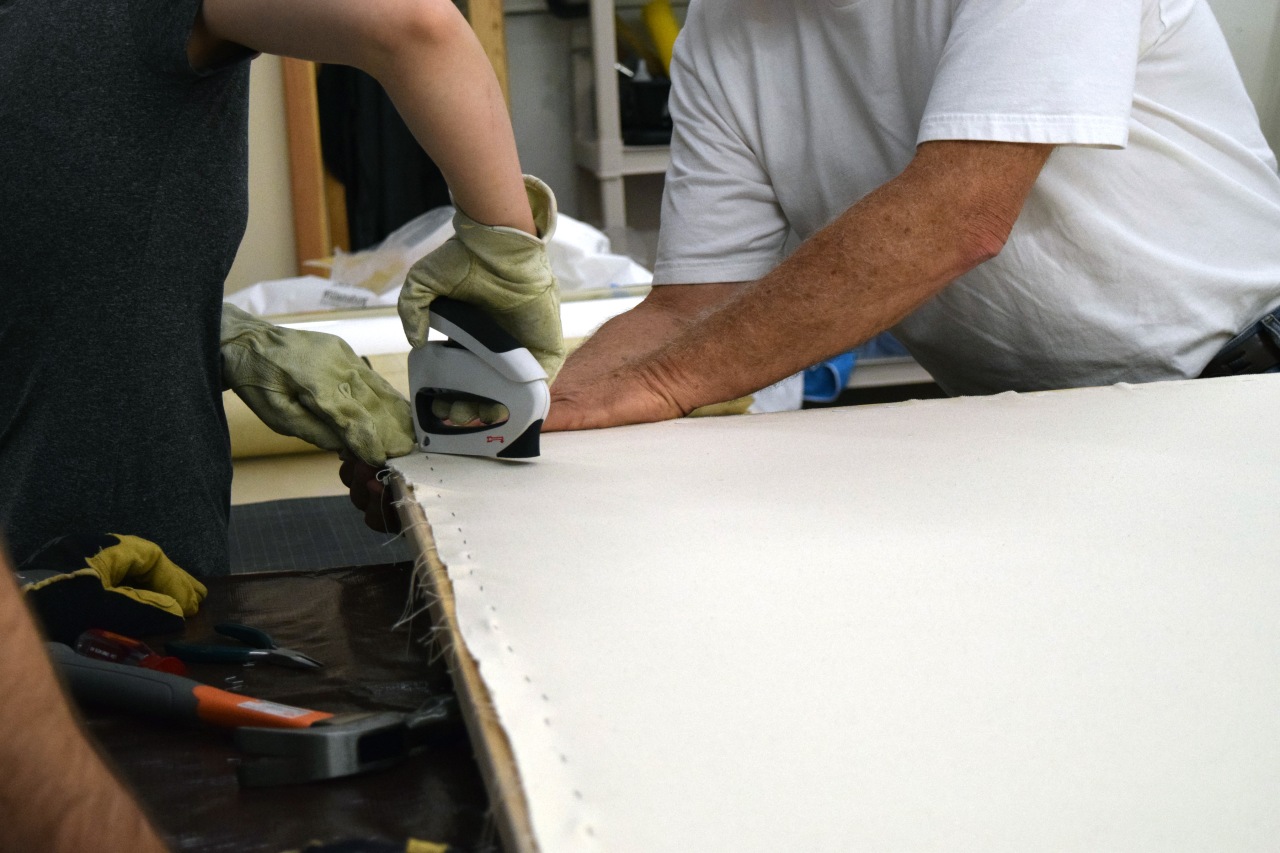
Melissa’s dad Robin and her husband Nick stretch canvas onto the screen. The screen is a simple wooden frame with metal brackets that reinforce the corners. This step is almost exactly the same as stretching a canvas for a painting, except that here the fabric is not pulled over the edges of the wood. In linen backing, the poster is always cut down from the screen after it has dried, so ugly staples are not a problem.
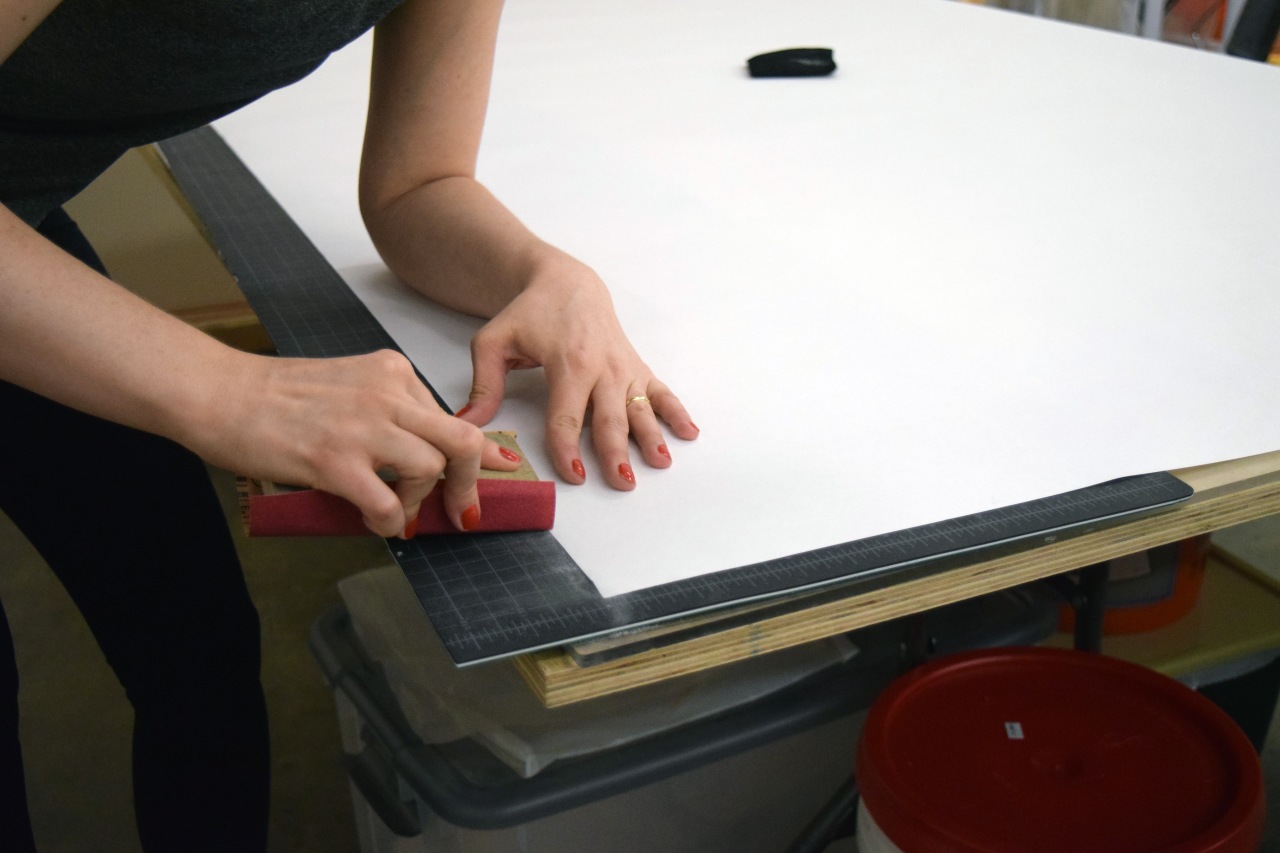
Melissa sands the edges of the acid-free barrier paper. Two sheets of paper will need to be used in order to fit this poster. The two sheets will overlap, and sanding the edges of the overlapping sides helps reduce the doubled thickness of the paper and minimize the look of the ridge.
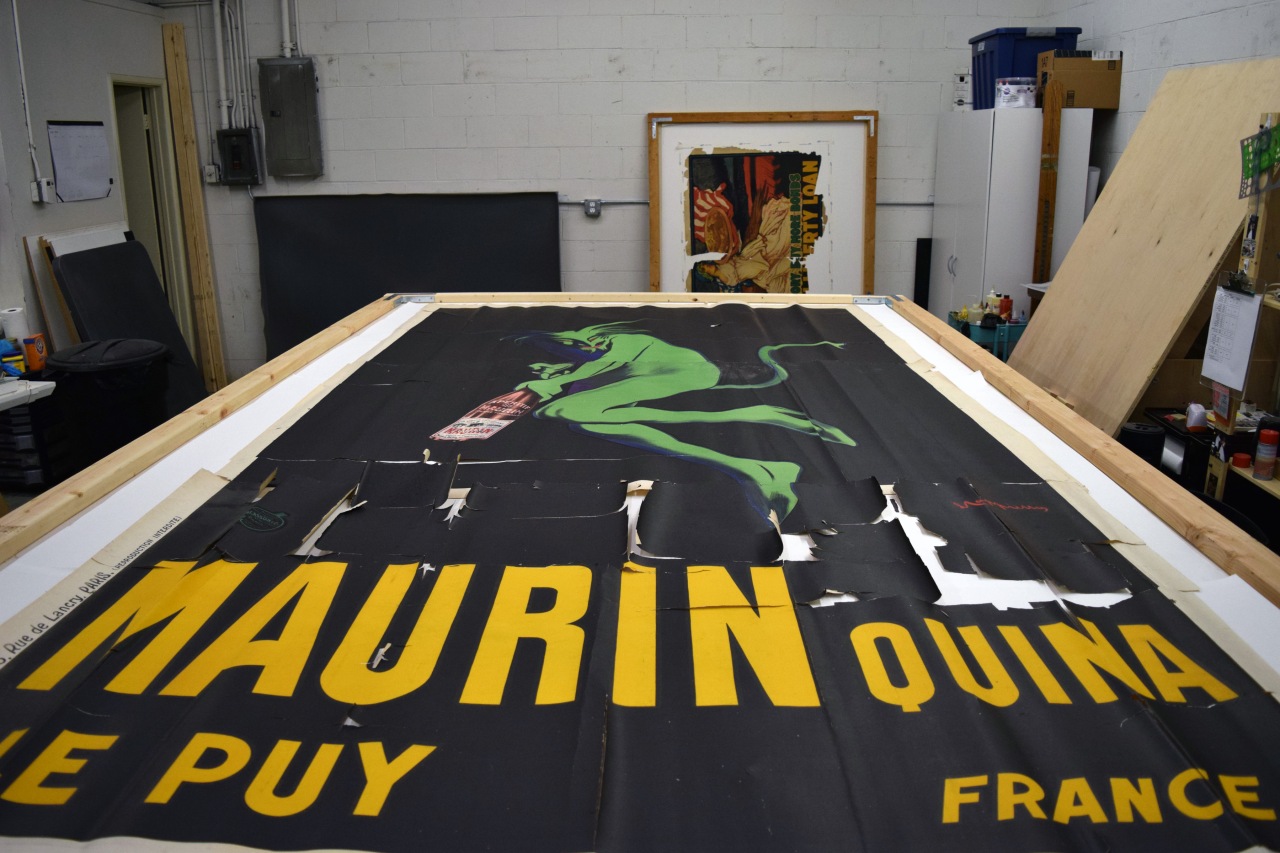
Once the canvas is stretched, they flip it over and lay the poster out to make sure the fit is good. While this adds an extra step, and all measurements have already been taken 8 times, it’s still better to check now rather than later. So much better.
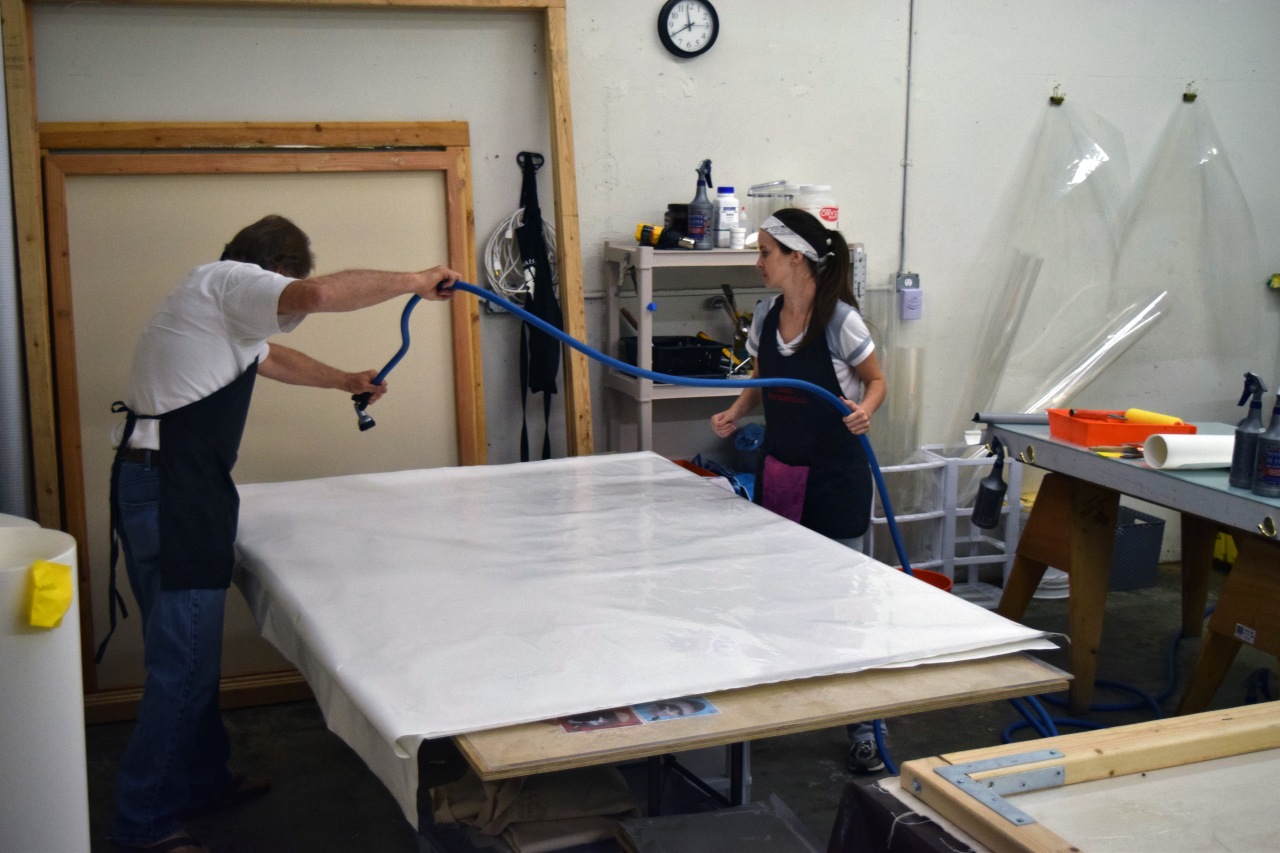
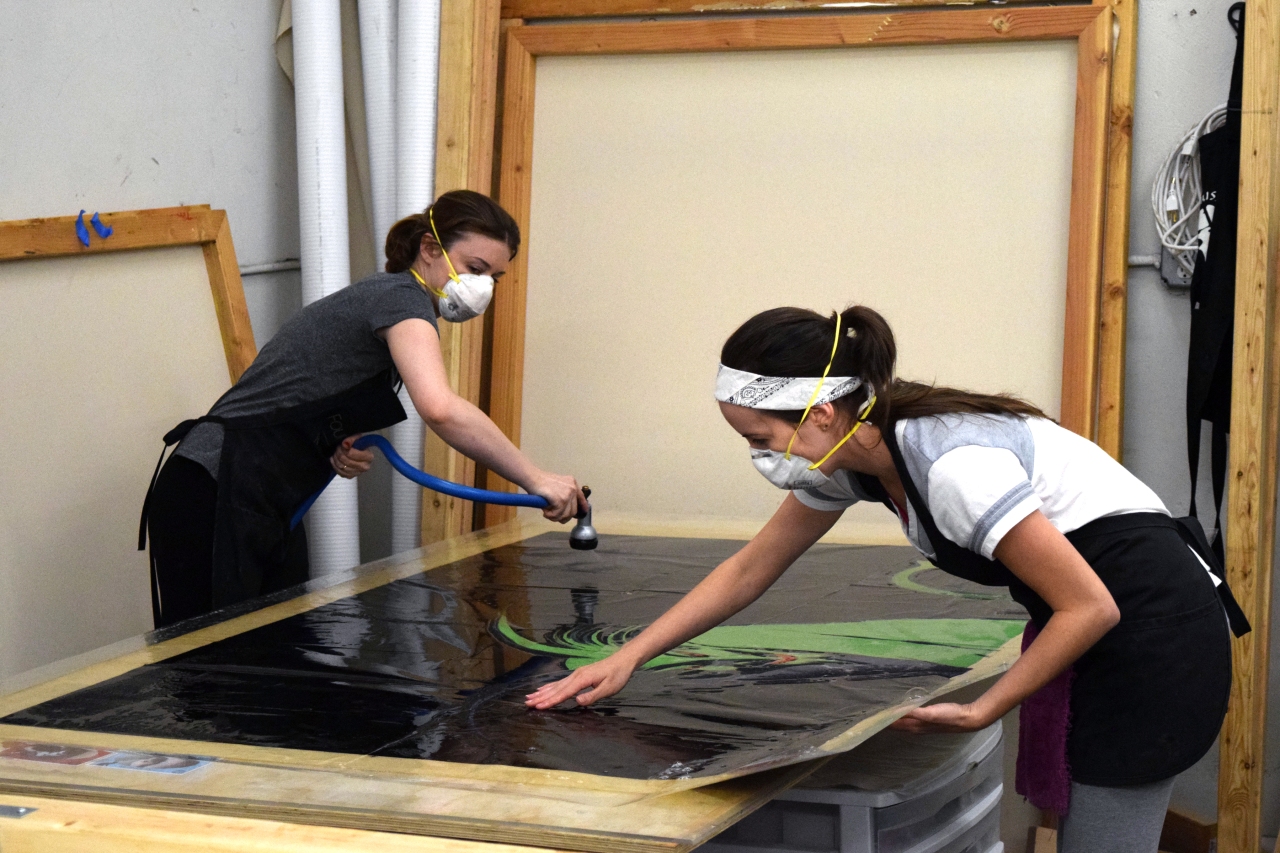
Robin and Chelsea spray down the acid-free barrier paper with water. This helps the paper expand so that it doesn’t wrinkle up when it touches the paste. It also makes it possible to reposition the paper once it has been applied to the canvas. Dry paper would just soak up the paste and then refuse to budge.
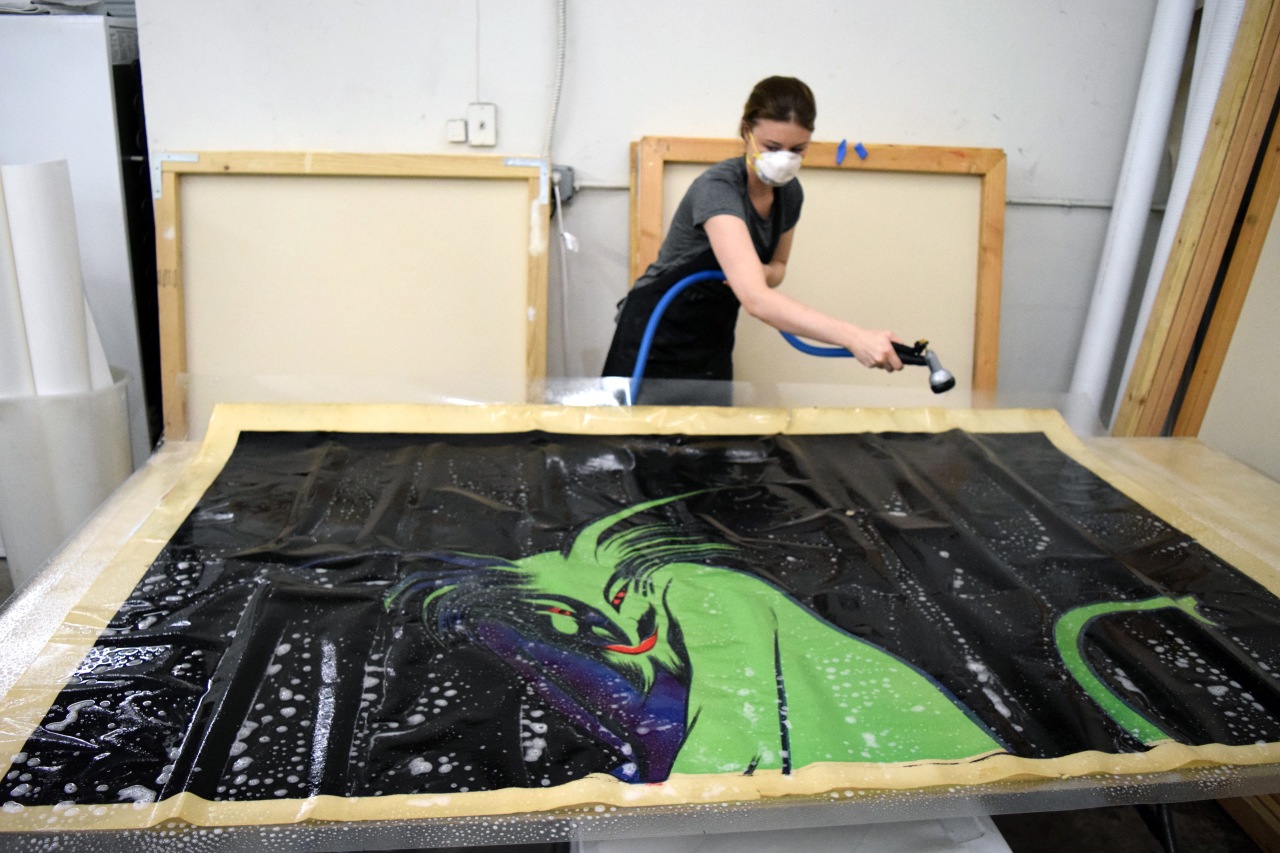
She then washes the first panel with a mild, paper-safe detergent. The detergent is sprayed in a very fine mist, so she wears a dust mask to keep from inhaling it.
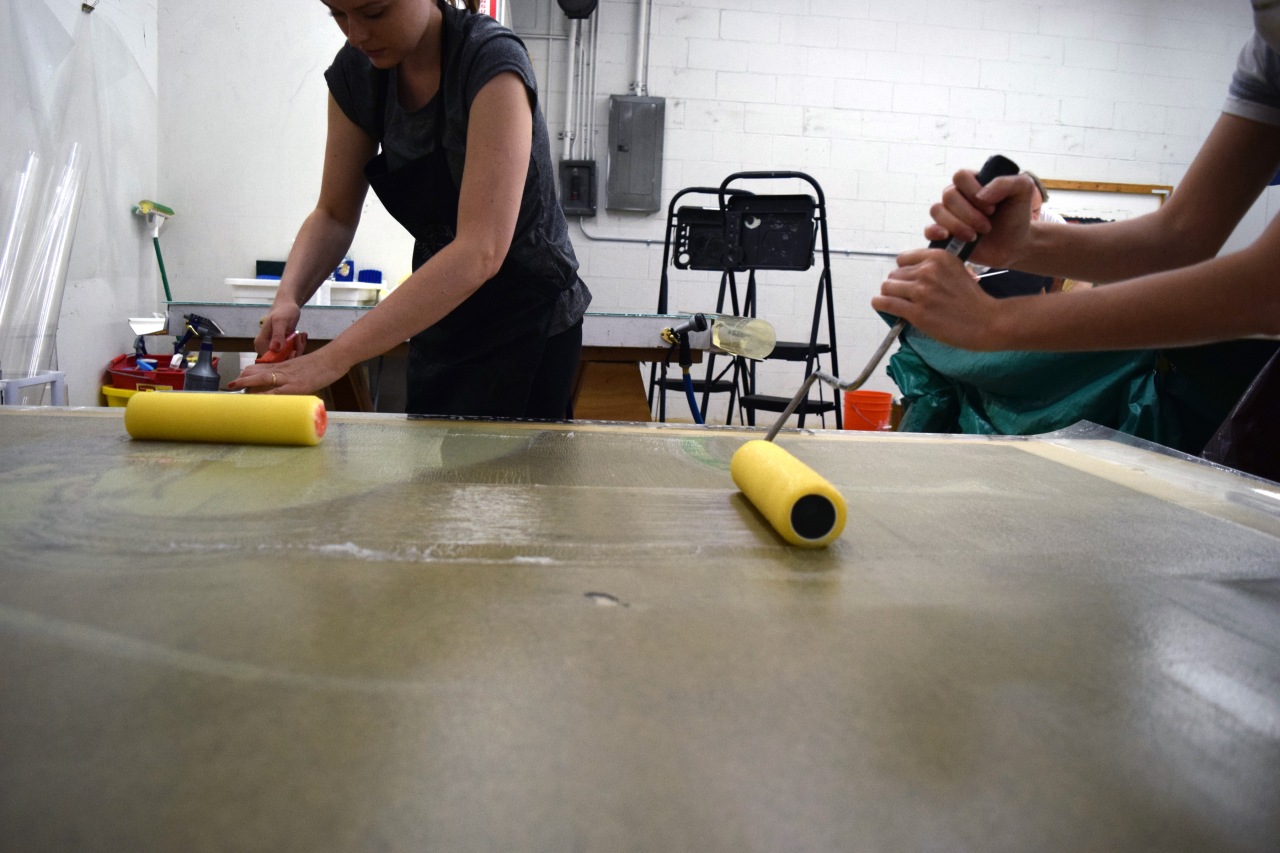
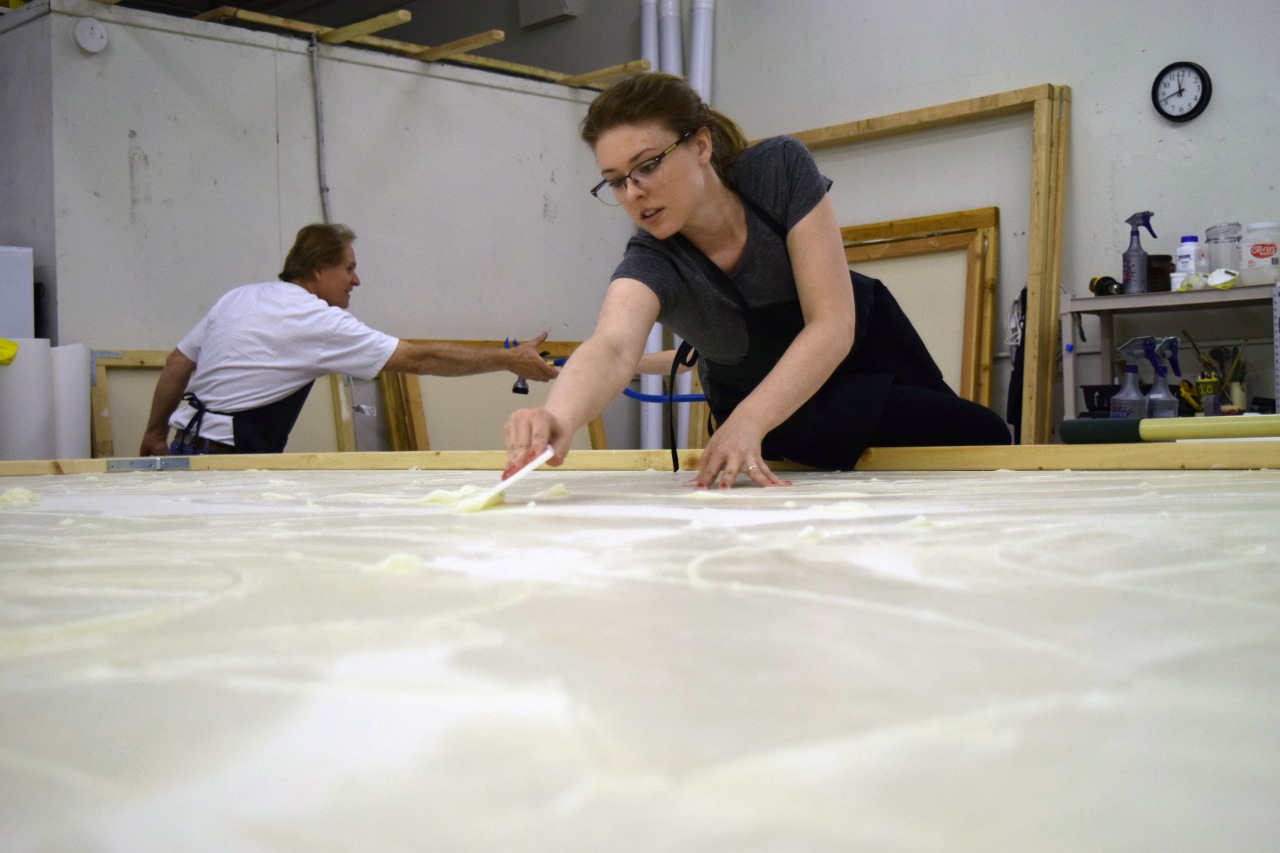
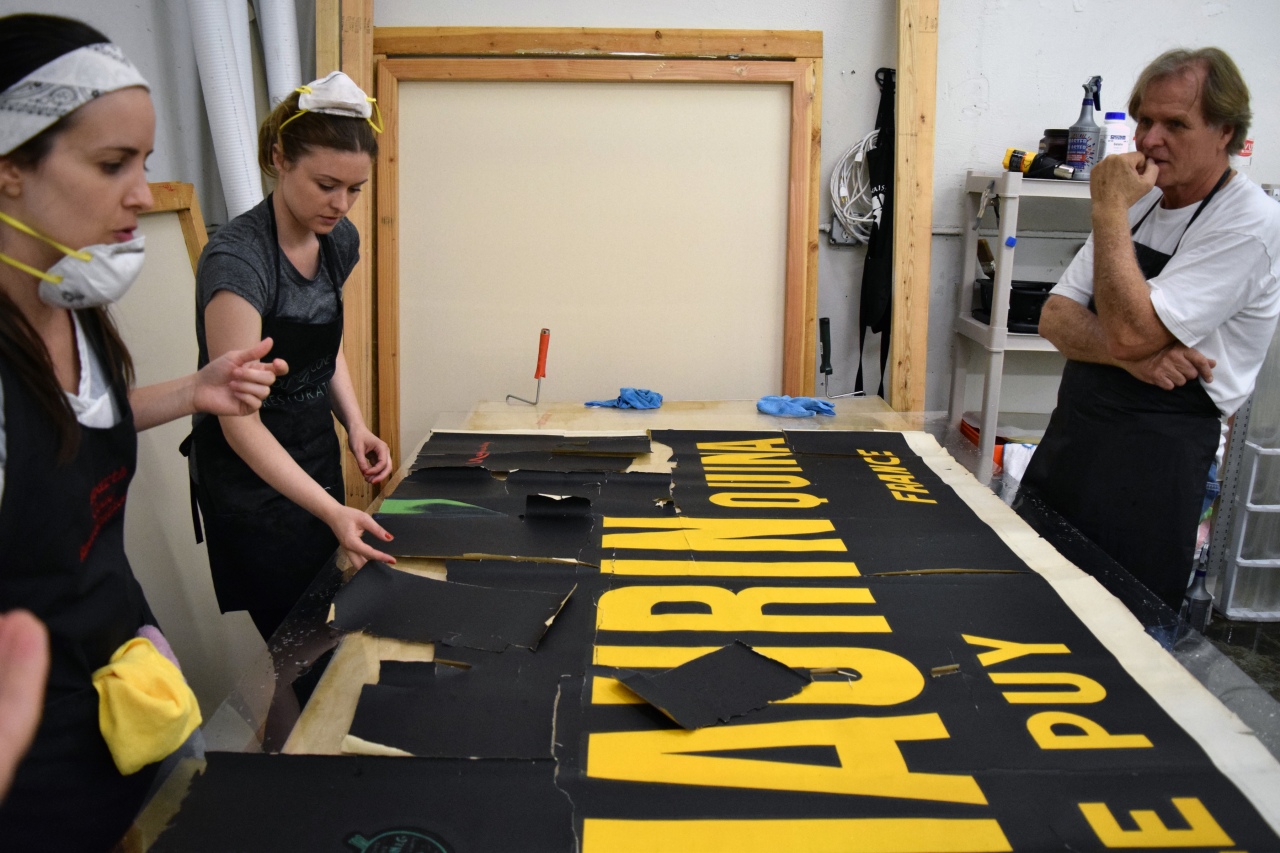
The two women then apply paste to the back of the poster. They have to apply it methodically to ensure no spot is left un-pasted. Care also must be taken to ensure there are no stray specks of dust, lint, dried paste, or any other detritus. Any little thing will show up as a little lump under the poster after it’s mounted.
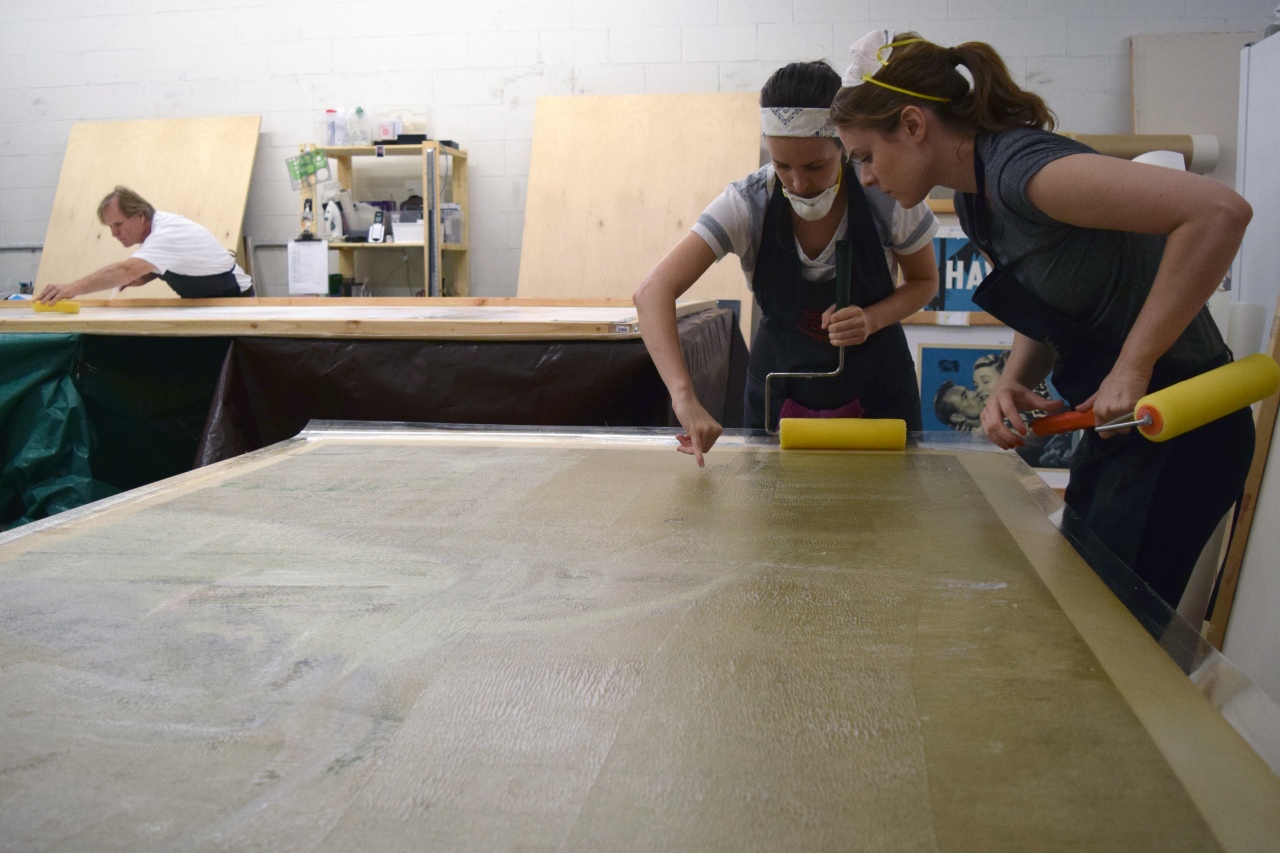
Here’s Chelsea pointing out just such a speck of enemy lint. Most likely it’s a tiny chip of wood lodged inside the paper from when it was originally manufactured.
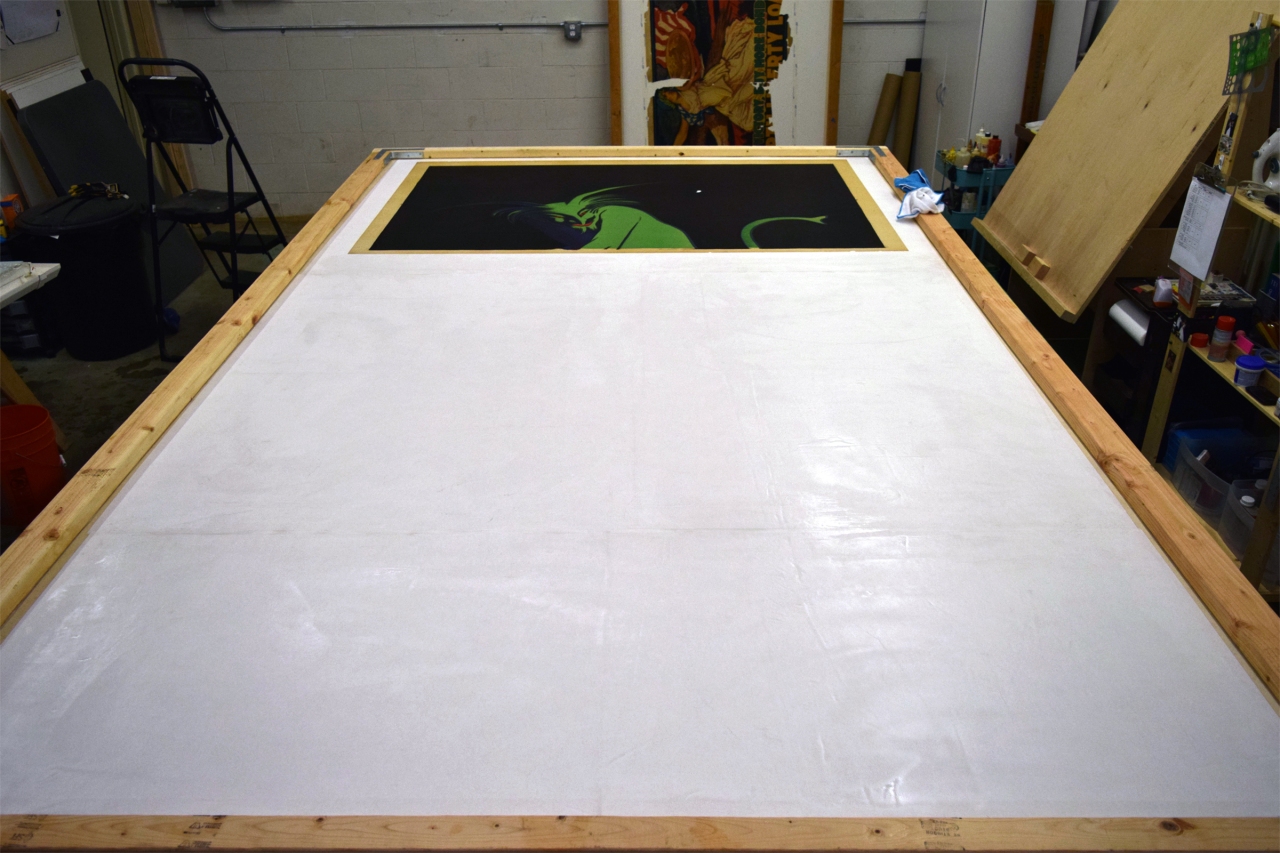
The first panel has been successfully mounted. Since all hands were needed for the previous step, it unfortunately wasn’t photographed.
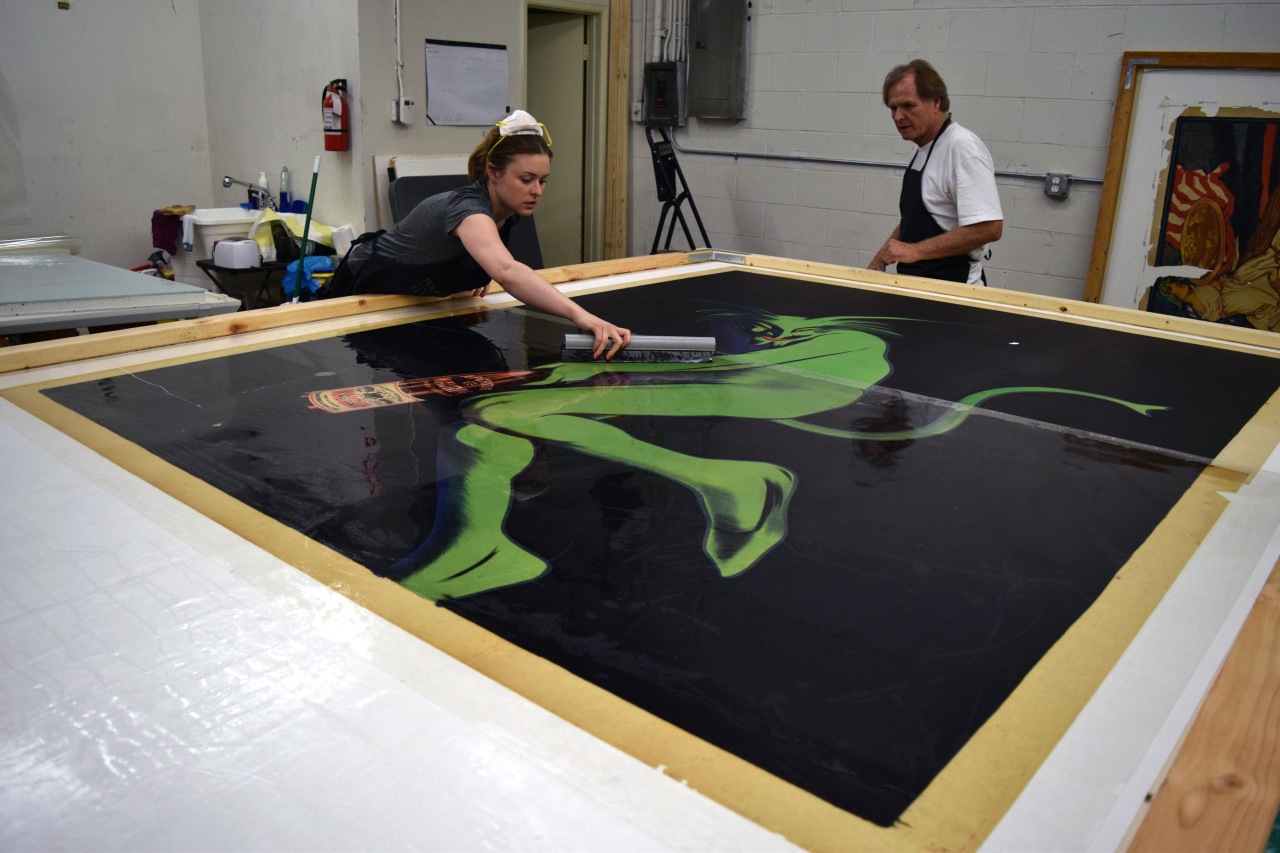
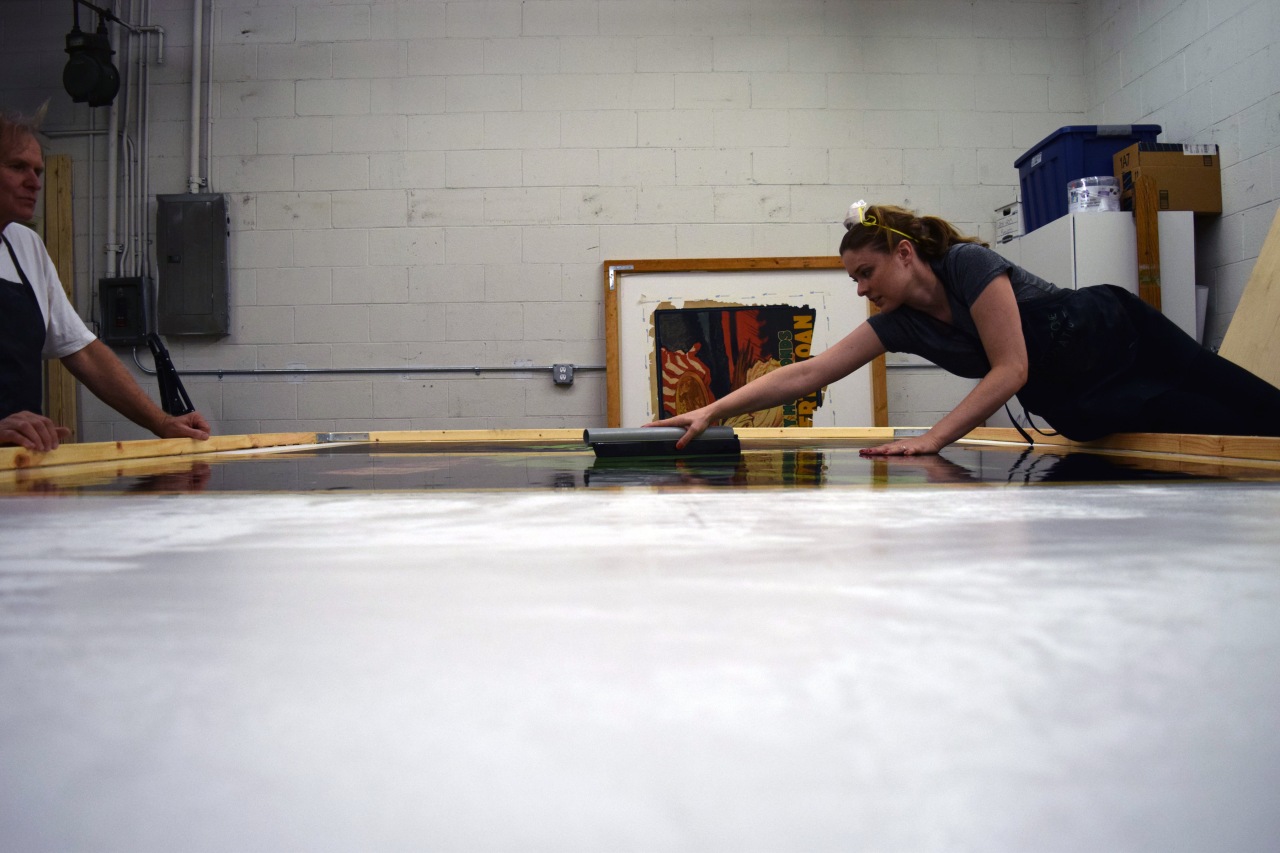
The second panel is mounted. Here the poster still has a protective layer of mylar over it. Melissa is squeegeeing over the mylar to remove any air bubbles between the poster and the acid-free paper.
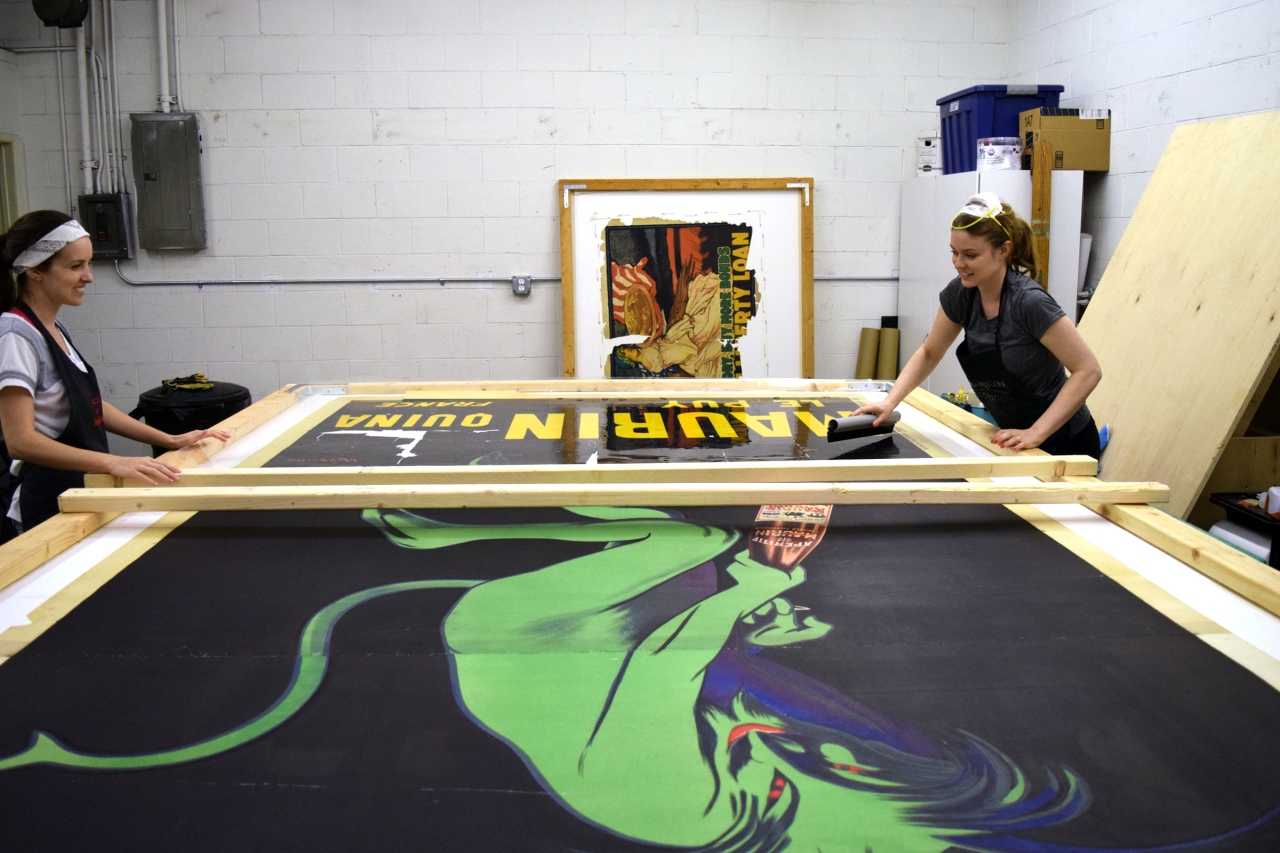
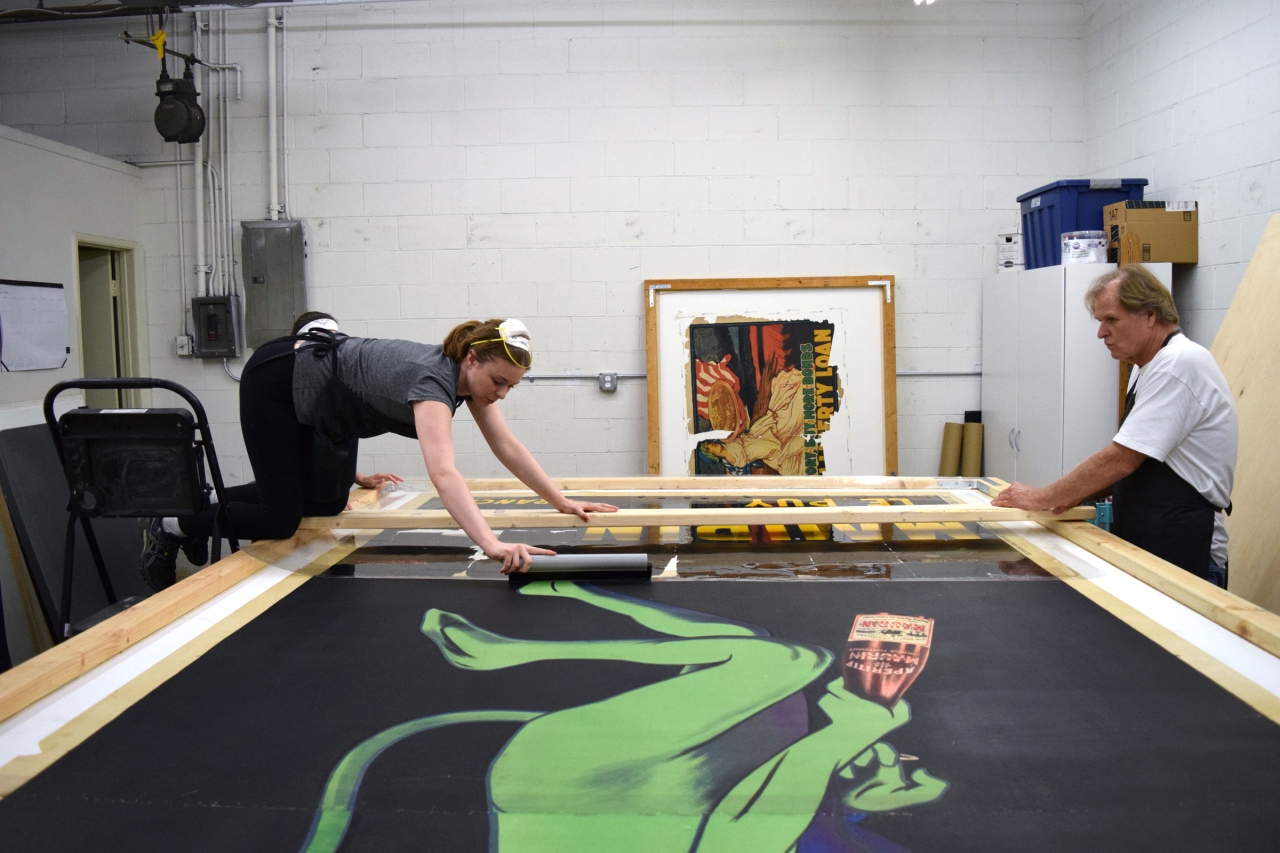
The whole process is repeated, albeit more carefully, for the fragile third panel. A makeshift “bridge” is then erected for Melissa to squeegee and sponge off the complex network of tears and holes. From experience they know that the green devil’s thick black ink needs to be thoroughly cleansed of any stray glue smears, otherwise restoration will be a nightmare.
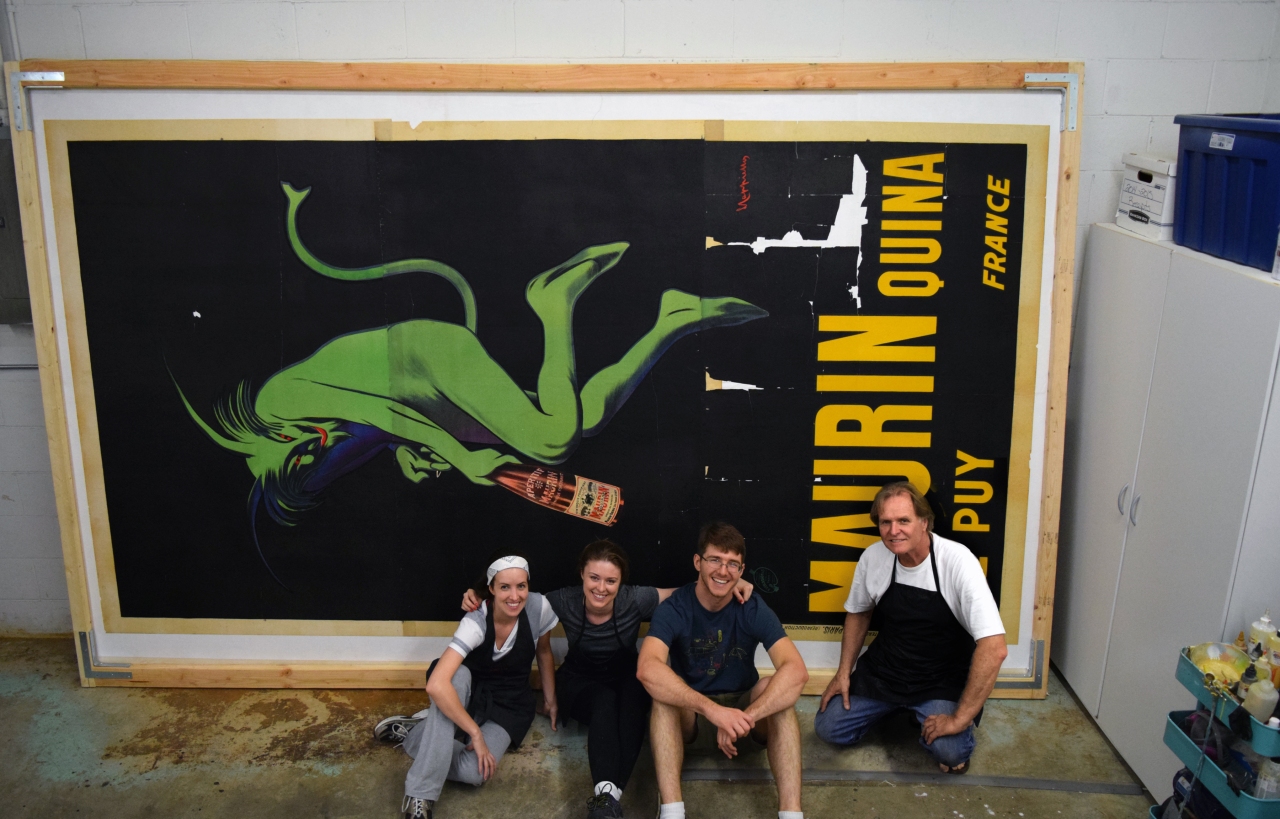
The poster is then moved into its new temporary home against the back wall. Once dry, the tears and holes will be restored so that it looks near-perfect. The exhausted and starving crew then went out for Mexican food. Katie continued to elevate her broken leg at home.
Pingback: Cappiello’s Green Devil, Part II | Fourth Cone Restoration Blog